Community Corner
Frugal Family: Savings Is In The Canning
If your garden is overflowing, can the fruits of your labor and savor them all winter long.


Canning is described as just one step beyond cooking.
So rather than let your bountiful garden go to waste this summer, you can make salsa or spaghetti sauce with those homegrown tomatoes and peppers. The food you preserve can last up to a year.
If you go to local farms to pick fruits, you can make jams and jellies. Come September, head to the orchard to pick apples and make your own apple sauce, apple butter and apple pie filling. Apples seem to be very forgiving in canning, while strawberries tend to lose their color and flavor after six months.
Find out what's happening in South Whitehallwith free, real-time updates from Patch.
National Can-It-Forward Day is Aug. 13. Anyone who has ever canned has most likely heard of the Ball Corporation, and they’re behind the event. Their suggestions for celebrating include hosting a home canning party or watching live-streaming coverage of National Can-It-Forward Day events in Seattle, Wash.
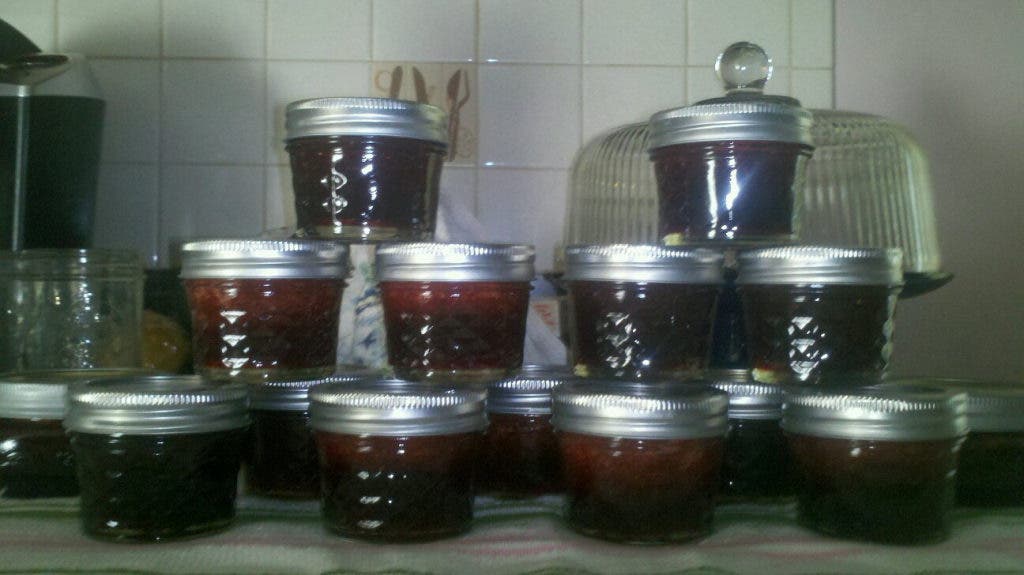
I’ve been canning for a few years, having started with apple pie filling. More recently, I've been canning various jellies and jams.
Find out what's happening in South Whitehallwith free, real-time updates from Patch.
To get started, you'll need:
- A 21-quart stock pot with lid.
- A canning rack that sits inside the pot. (It not only helps get the jars out but helps keep temperatures even so jars don’t break). I've seen a polypropylene version so I may upgrade this item shortly.
- Jars with lids and bands (available in many sizes, styles and colors).
Other helpful items are a jar funnel, jar lifter, lid lifter and bubble remover/headspace tool that are available in a set.
If you’ve never noticed canning supplies where you shop, it may be because you were not looking for them. offers a selection of supplies, as does and . Occasionally lids may be on clearance, so stock up when they are; while jars and bands can be reused, lids can only be used once.
Here are the basic steps to canning:
1.Wash/sterilize the jars. I use the sterilize feature on my dishwasher and keep the jars in there to stay hot/warm until I'm ready to fill them. That helps reduce the possibility of the jars cracking while processing because of temperature differences.
2. Fill the pot with enough water to cover an inch over the jars, and heat to a simmer. Put on the lid and keep that going while you prepare your food. Certain foods require a pressure canning method, but if you’re sticking with jams/jellies, salsa or pickles, you’re good to go.
3. Prepare the food according to the recipes. There are many recipe books as well as mixes specific to canning.
4. Fill the hot/warm jars with the hot food, leaving an inch of headspace to allow for food expansion.
5. Remove any air bubbles in the jar.
6. Wipe the rim clean and attach the lid and band.
7. Gently place the filled jars into the pot and process for the specified time.
8. Remove the jars and allow them to cool. You’ll hear the lids popping as they seal. Check them to be sure each lid is sealed (the center doesn’t flex) and allow them to rest/cool completely overnight.
There is more to canning, but these are the basic steps. Stores with canning supplies also will typically sell the Ball Blue Book, the bible of canning, should you decided to give canning a try. You can also go to the website for the National Center for Home Food Preservation or FreshPreserving.com for recipes, instructions and supplies direct from Ball.